A Brief Introduction to Get Kids Crafty!
Get Kids Crafty! is the brainchild of Hannah, owner/creator of Fanciful Spaces, and myself. We both posted and shared pictures of our young children crafting with our craft products on the same day. She and I are good friends and we were chatting about how we wished we could get more kids into our craft rooms. Wouldn't it be AWESOME if we could bridge the gap between THEIR art and OURS? What would happen if we taught them to respect our expensive products? Would we find new inspiration with our own belongings?
So Hannah and I decided to search for fellow bloggers/crafters/moms who wanted to share in our experience. We have asked them to blog once a month around a common theme and to share their experiences--good and bad--as they craft in their "special space" with their kids. Once a quarter, we'll be asking YOU to share in the experience! We'll be asking you to craft with your child and to share your projects on social media! One participant will be chosen to win a prize! You don't have to blog, you just have to share your child's work on Instagram or Facebook using the hashtag #getkidscrafty, we'll find you and let you know that you are our winner!
And please, join us in our Get Kids Crafty! Facebook group! We love to have everyone to share new projects you've discovered, pictures of your kids crafting, and offer encouragement to other moms doing the same. And we still need a couple more parents interested in joining this hop! So, click up there and request to join us! Maybe you'll be on our GKC team next month!
So.. let's get crafting!
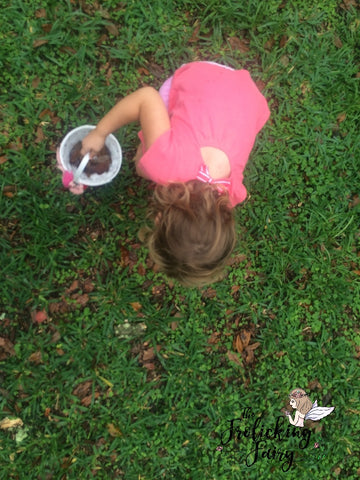
I have two young daughters, nearly 4 and 2. I'll round up since their birthdates are rapidly approaching (too fast!). We completed three projects that center around the theme of autumn and leaves.
Project 1: Leaf Placemats
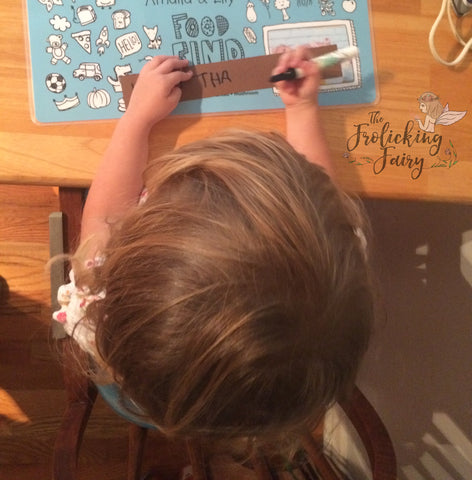
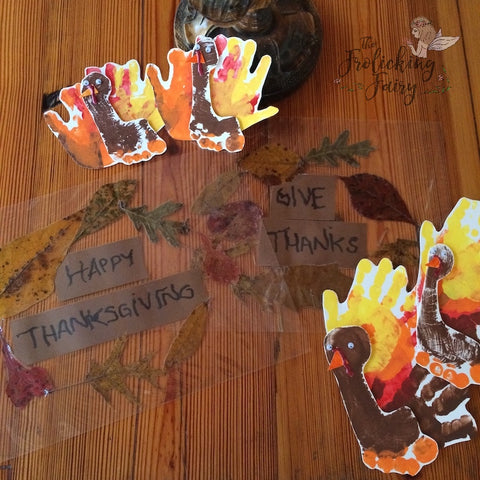
Since I do not have a laminator at home, I tried to find projects that would allow my daughters and I to create leaf placemats without one. I found a few tutorials online that suggested creating a wax paper sandwich around the leaves. I thought adding "Happy Thanksgiving" and "Give Thanks" along with the leaves would be a bit festive, so I lightly wrote those phrases in pencil on brown cardstock and had my eldest daughter trace over the letters in black marker.
Next, it was sandwich time! As instructed, I laid one piece of wax paper down on a towel. We laid the sentiment strips in the center, and my daughter arranged the leaves around the sentiment. I placed the second piece of wax paper on top, covered it with a second towel, and ironed over the towel with firm pressure at high heat.
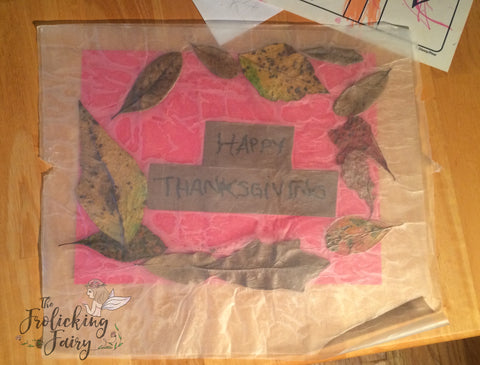
Well.. it did not exactly work. (The red paper you see is beneath the placemat, and was not within the wax paper sandwich.) The larger sections melted together somewhat, but I could not get the paper to stick together well enough, despite coming back to it during nap time to give it a really good try. In fact, the wax paper starting coming apart. More. I have no idea why, but this was a Pinterest FAIL in my opinion. So, back to the drawing board. I considered finding old school Contact paper. But, remembered my husband's office had a laminator. We did not steal it, simply used it. :) THAT worked much better! Just be careful to hold that floppy laminate sheet in place with the leaves adjusted as they enter the "hot zone" and become permanently stuck.
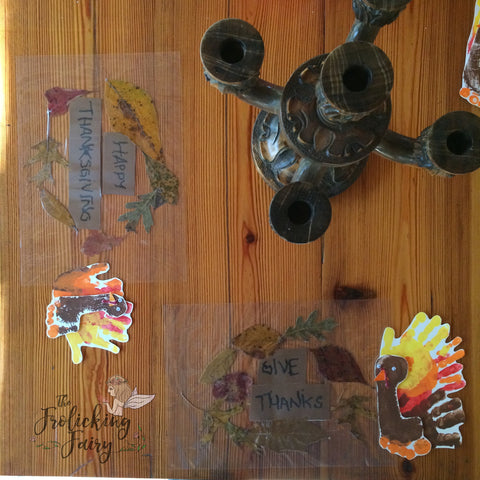
I think they turned out nice! And these are far more durable than a wax paper placemat would have been. Those turkeys are next!
Project 2: Hand and Foot Print Turkeys
I saw the cutest hand-foot print turkeys in a craft group on Facebook and thought they would be fun to recreate. My youngest was able to participate in this activity a bit more than the previous one. So, I grabbed some basic craft paints in brown, orange, yellow, and red and we started painting and printing!
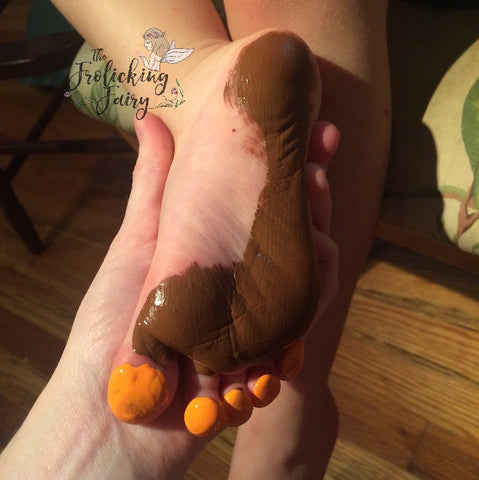
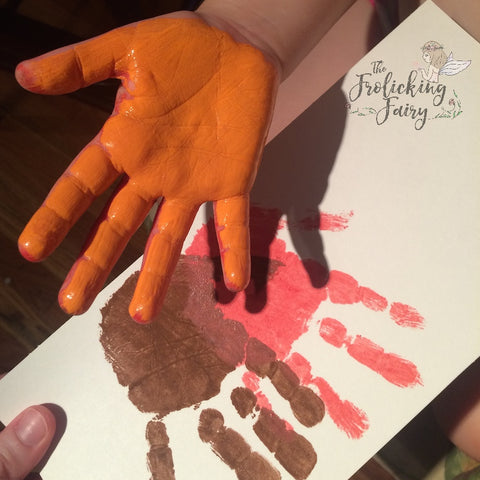
We layered the hand prints to emulate the turkey's beautiful fan of feathers. After allowing the paint to dry, I cut out their hand and foot prints (we did two sets for each of my girls). Believe it or not, my girls each helped me finish assembling their turkeys. For my youngest, we turned the hand prints with the fingers pointing upward and she helped me lay the foam tape on the back of the foot turkey body and push it into place on the fan of feathers. I cut two triangles for the beak and colored them orange. She thought to "distress" the ink on one beak by popping it into her mouth. (le sigh.. lol) After gluing down the beak, we attached the wiggly eyes and I held her little hand in mine while applying some Nuvo Crystal Drops in Autumn Red. (I love where those turkeys are looking down there.. )
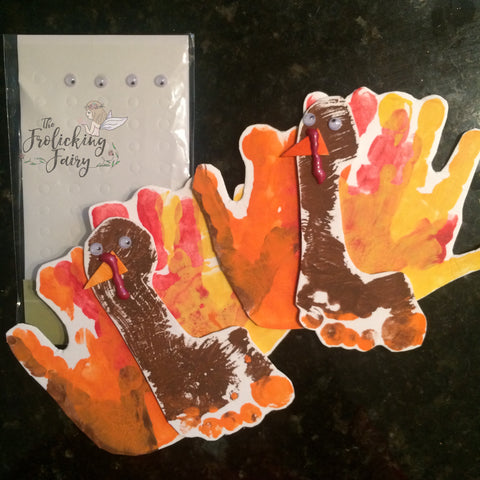
My eldest colored some cardstock orange and cut out the beaks herself. I drew the lines on the back of the paper for her to follow.
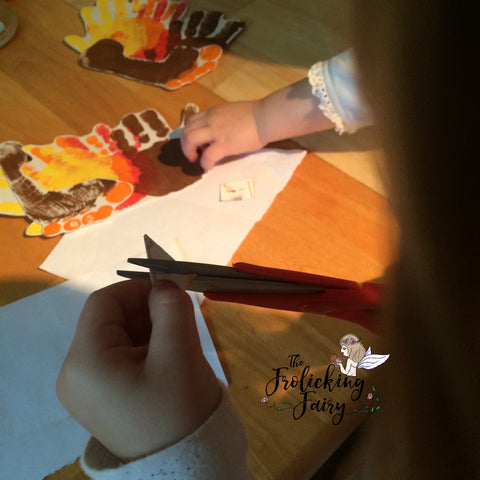
She helped cut and adhere the foam tape, glue on the beaks, attach his crazy little eyes, and helped me squeeze on the Nuvo drops for his red little gobbler. She loved those crazy eyes! We assembled her fan of feathers with the fingers pointing off to the side.
Project 3: Mono-Printing Leaves (and Generation Printing)

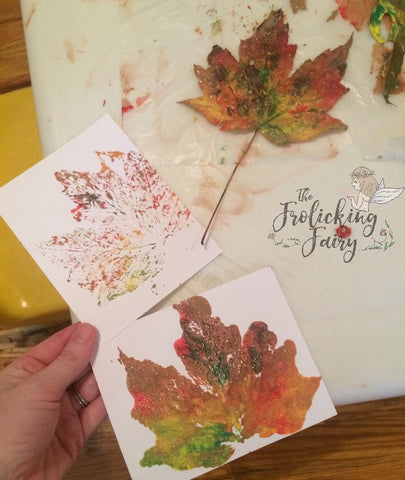
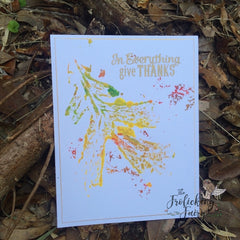
We gathered all of our supplies: paint brushes, basic craft paints in fall colors (including some beautiful Martha Stewart Glitter paint), our leaf harvest, and yardstick. To make it easier to paint and stamp the leaves onto the paper, I ironed the leaves flat.
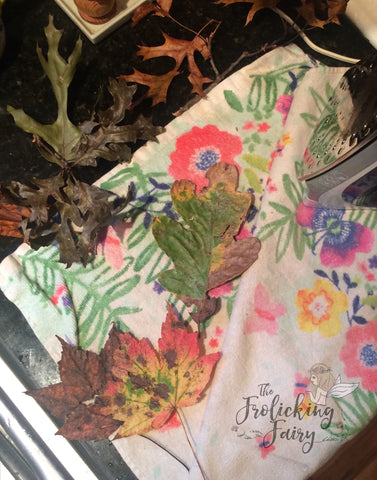
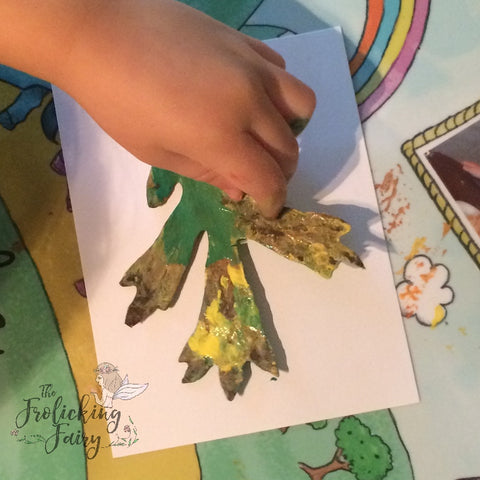
Painting time! I added some dollops of paint on the tops of the leaves and the girls painted the surface of the leaves.

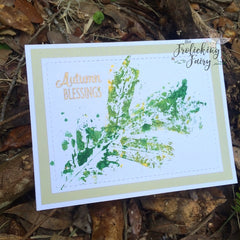
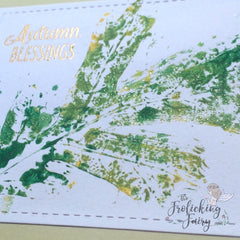
The painted leaves were then flipped over onto A2 sized card front pieces of cardstock and then even pressure was applied over the leaf using a piece of junk paper.
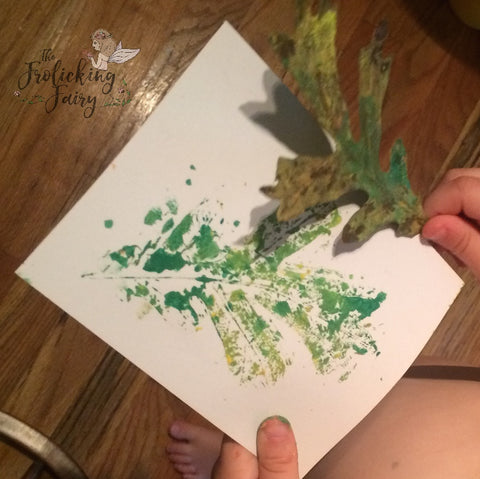
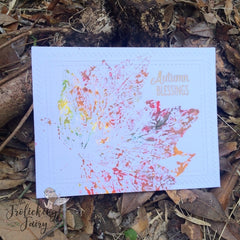
We also discussed generation stamping, very simply. Below, you can see the first and second generation prints from the leaf. Both effects are lovely, but the second generation print is my favorite!
The prints then became cards! I completed the card assembly, mostly. The final card below was completed by my eldest. :)
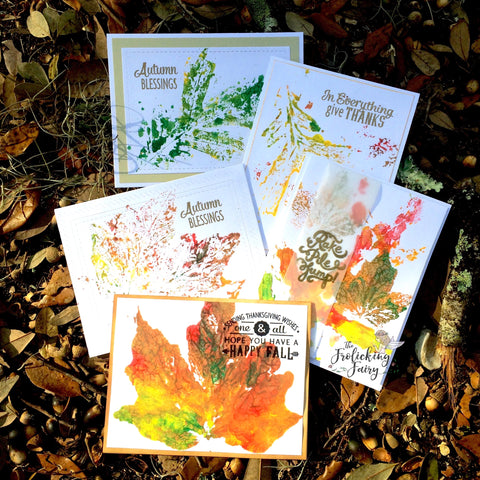
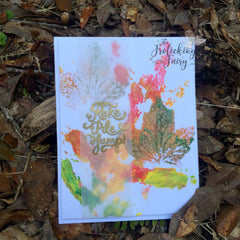
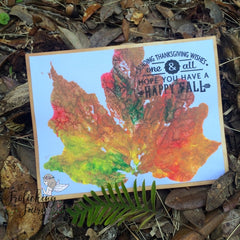
My daughter colored the sweet Native American girl from Kindred Stamps' Native Princess. This background was created by painting paint over the leaf's edge so the leaf image was created by the negative space beneath the leaf. It creates the perfect spot for a sweet sentiment or character.

Thank you for joining us for our first Get Kids Crafty! Blog Hop!! I would love to hear your thoughts on the projects we completed, and any suggestions you have for future hops.
Don't forget to visit all participants below!!
#thefrolickingfairy #getkidscrafty #bloghop #kidscreate #leafprint #leafprints #monoprinting #learningart #crafting #gettheminvolved #momlife
Fun leaf cards and I like the placemats.
Clever idea to use the laminator. Those precious hand and foot print turkeys… oh, love them! Wish I’d seen that when my kids were younger. Now they’d make giant turkeys! Lol. Loved all the cards! Looks like a whole lot of crafty fun!
I love the laminated placemats. I want to get the larger size laminating envelopes to do the placemats. It would be fun to make one every month or so with the kids. I also think painting over the leaf edge was a wonderful idea!